What you need
- Talens Art Creation Indoor & Outdoor decoration set
- Brush
- Painting Knife
- Lanterns


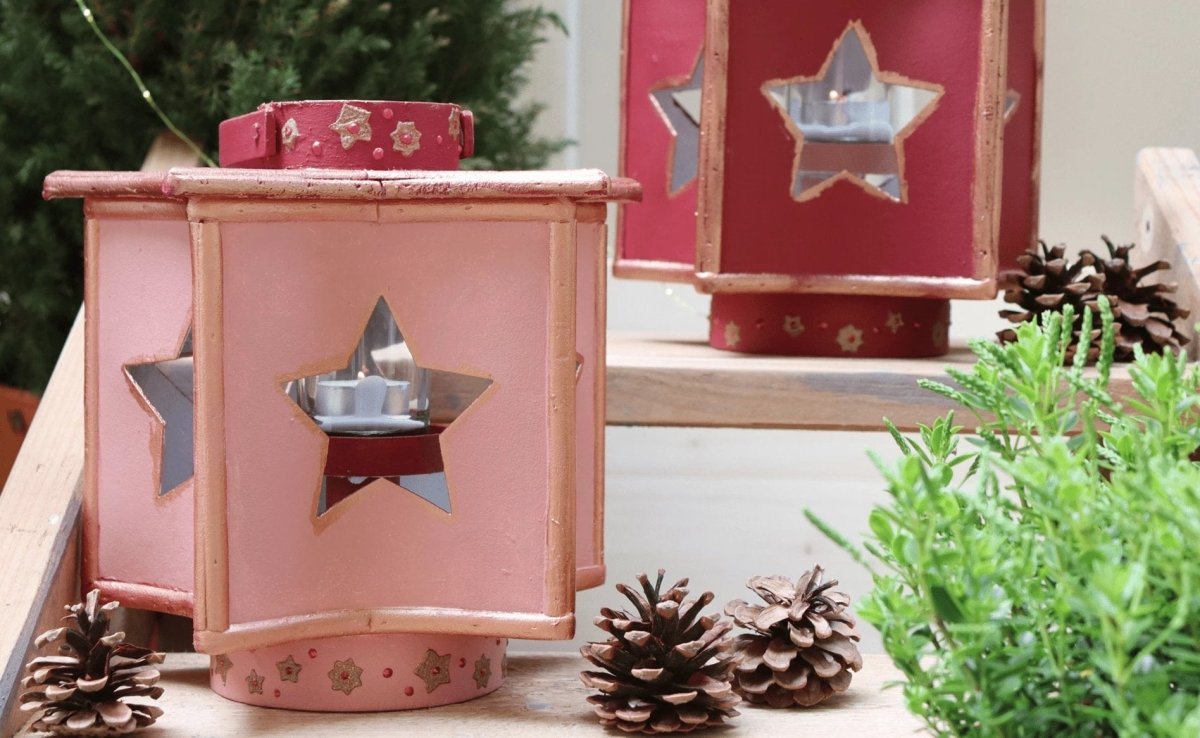
In this easy step-by-step plan, we show you how to upcycle old lanterns using the beautiful warm shades, metallics and glitters of the Talens Art Creation Indoor & Outdoor decoration set. Let’s get right into it!

Shake the paint and apply your preferred Indoor & Outdoor colour to the lanterns using the sponge sticks included in the set. Let the paint dry for 30 minutes.
Apply the Metallic paint to the edges of the lanterns to create a so-called patina effect. This will make the edges look like they’re oxidised metal!


Take the included snowflake stencil and place it on the lantern. Use a painting knife to apply the glitter paste to the stencil. This will give you a nice 3D effect because of the thicker layer. Experiment with the placement and size of your snowflakes to create a dynamic design. Let it dry for 30 minutes (or more depending on the thickness of the layer).
Now you can use the Effect Liner to add little decorative pearls or other 3D accents. Let the liner dry completely.


That completes your new upcycled lanterns! You can use these tips on any old piece of home décor to make it more holiday appropriate. Enjoy your new favourite items!
We hope you enjoyed this tutorial and try it out yourself. If you do, don’t forget to share your results using #RoyalTalens!